Create and Delete Users in Proxmox LXC
User Management in Proxmox LXC!
In our previous article, we delved into the step-by-step process of downloading a CT Template and creating an LXC within Proxmox, as well as the configuration for remote access using SSH. Today, we’ll explore a crucial aspect of Proxmox LXC containers that is often overlooked — the default ‘root’ user.
Proxmox, by default, assigns the ‘root’ user as the sole administrator for newly created LXC containers. While it may seem convenient, relying solely on the ‘root’ user can introduce several critical issues that should not be underestimated.
Complications of using the ‘root’ user:
- Security Risk: If we use the ‘root’ user for all our tasks within the LXC, then in case of a security breach, the attacker if they took control of the ‘root’ account then they would have complete control over the system.
- Permission Issues: If we use the same ‘root’ user for all tasks then we might not be able to separate or provide proper access to all the users using the system
- Resource Management: When using the ‘root’ user, controlling and limiting resource usage, such as CPU, memory, and disk space, becomes more challenging.
These are a few major issues that we would get into if we were solely using the ‘root’ user. In this article, let us learn how to create and manage more users in a Proxmox LXC.
Steps to Create a User:
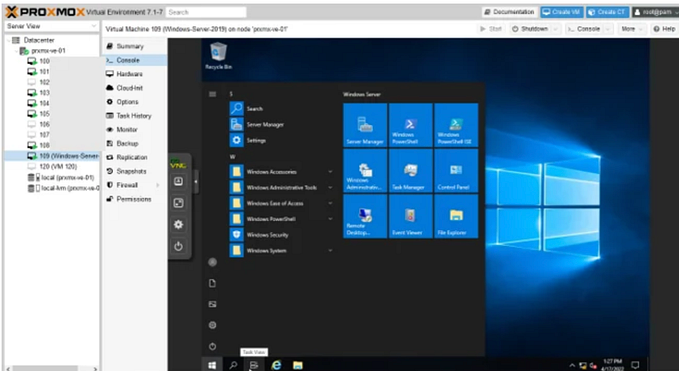
- First, we need to log into the LXC container. We can either use SSH to remote into the LXC or just use Proxmox Console to access the container. Since we only have a ‘root’ user, we can log in using the same.
- Now we can create the user using the command ‘adduser’ followed by the name of the user.
adduser <username>Note: Replace <username> with the desired username in all the occurrences in this article!
- It will ask for the password and a set of other user information. Only the password is required. We can just skip the other user information which the console would ask.

- We can grant the user sudo privileges which will allow them to execute commands with superuser permissions that is they will be able to execute commands using ‘sudo’. To do this we need to add the user to the sudo group. We can do this by typing the below command.
usermod -aG sudo <username>
- Now the user ‘admin’ which we created can execute commands using sudo. We can remove the sudo privileges from the user as well. We can use the below command to remove the same. I’ll just leave the user added to the sudo group.
sudo deluser <username> sudo- In the last article, we did look into the steps to enable SSH access for the root user. It is not recommended as well. We can revert those changes if you have enabled the same.
# Navigate to the below file
nano /etc/ssh/sshd_config

# Locate the line that says 'PermitRootLogin yes' and change it to 'PermitRootLogin no'
# Save and exit the file by pressing Ctrl + X on the keyboard. The press Y and Enter.
# Restart the SSH service
systemctl restart ssh- We have now successfully created a new user in the Proxmox LXC and have added the user to the sudo group as well. We also have disabled the SSH access to the root user if we have enabled it previously.
- We will be able to SSH into the LXC using the new user now and can perform all the tasks using this new user which we just created instead of the ‘root’ user.

Steps to Delete a User:
- Again we need to log in to the LXC container. We can either use SSH using another user, as we can’t delete the currently logged-in user, or we can just use the Proxmox Console to access the container.
- Now we can delete the user by using the command ‘userdel’ followed by the name of the user.
Note: To execute these commands, you must have superuser capabilities or be logged in as root. Also, exercise caution when deleting users, as their data and files might get erased.
userdel -r <username>- This command not only deletes the user but also deletes all the directories and files stored in the user’s home directory along with its mail spool. If we need to delete only the user and not the files then we can use the same command but without the ‘-r’ option.
userdel <username>- We can also use the ‘-h’ option after the ‘userdel’ command to list all the available options for that command and its description. This ‘-h’ would work for all the commands in Linux and not specifically for this ‘userdel’ command.

- We have now successfully deleted the user along with all the files stored in the home directory since we have used the ‘-r’ option. So we can delete a user if needed by following these steps.
In this article, we discussed the disadvantages of solely depending upon the ‘root’ user. We also looked deeper into how to create additional users in a Proxmox LXC and add the same to the sudo group so that we can use this newly created user for all our tasks. We also looked into the steps to delete a user if needed. This method of creating and deleting users not only applies to a Proxmox LXC but to all Linux-based systems.
In our next article, let us look in detail at how to install docker and docker-compose in a Proxmox LXC so that we will be able to deploy the services as docker containers. Again we will be using only the newly created user to perform all our tasks!😁
Stay tuned for more detailed instructions on expanding our Home Labbing capabilities.
Happy Homelabbing!!!
Originally published on: https://harish2k01.in/create-and-delete-users-in-proxmox-lxc/